You are trying to get your new shiny app deployed to AWS either to save cost, try out a new option or any other reason you have in mind. You figure it’s not as straight forward as you think, this tutorial will try and lend a helping hand.
This tutorial assumes knowledge of these services and won’t be explaining some terms.
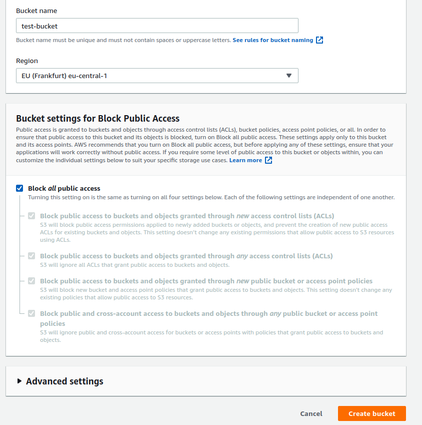
Create and Configure S3
Navigate to your AWS console, and create an S3 bucket.
Create a new deploy.sh file in your project directory, and copy the contents below into it.
deploy.sh
This file contains bidirectional Unicode text that may be interpreted or compiled differently than what appears below. To review, open the file in an editor that reveals hidden Unicode characters.
Learn more about bidirectional Unicode characters
Your AWS_ACCESS_KEY_ID and AWS_SECRET_ACCESS_KEY can be gotten from the AWS console, the guide below will show you how if you don’t already know or have them
AWS Docs.
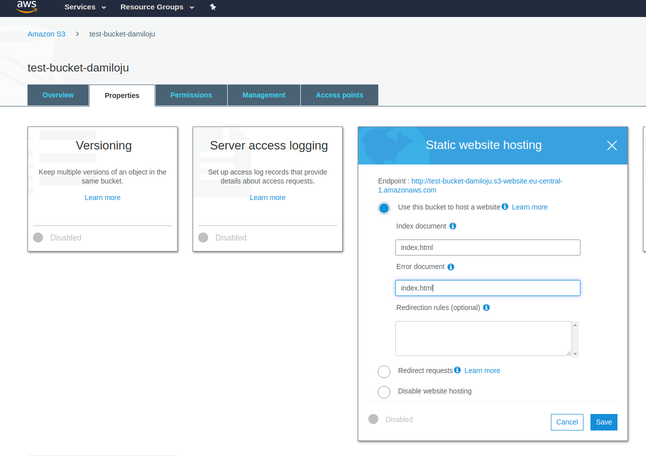
AWS_BUCKET_NAME is the S3 bucket name we created above e.g mine is test-bucket-damiloju as shown in picture 2.
AWS_CLOUDFRONT is our CloudFront distribution ID. It can be found here CloudFront
CloudFront distribution ID
Important that you change the mode option of your project in your nuxt.config.js to spa
Make deploy.sh executable and not check into gitignore.
Make deploy.sh executable
This file contains bidirectional Unicode text that may be interpreted or compiled differently than what appears below. To review, open the file in an editor that reveals hidden Unicode characters.
Learn more about bidirectional Unicode characters
Now create a gulpfile.js file at the root of your project directory and add the contents from the script below to it.
gulpfile.js
This file contains bidirectional Unicode text that may be interpreted or compiled differently than what appears below. To review, open the file in an editor that reveals hidden Unicode characters.
Learn more about bidirectional Unicode characters

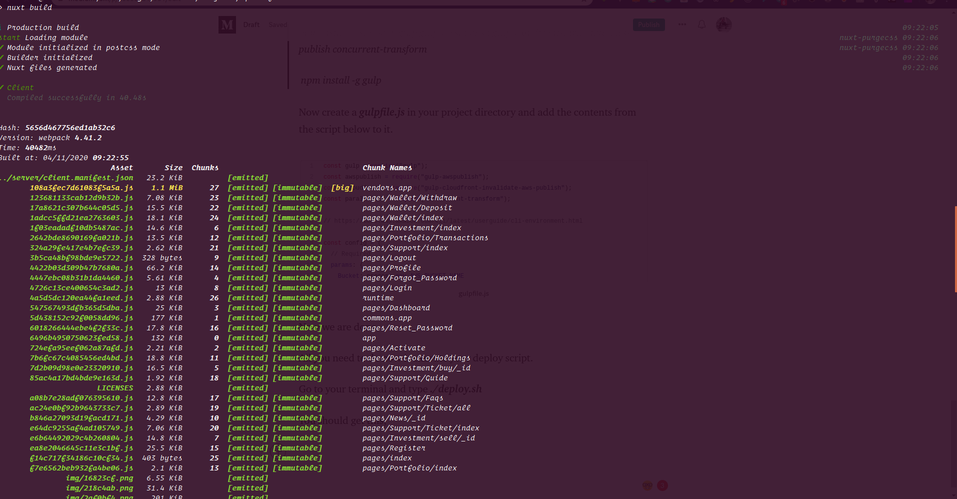 Terminal Output
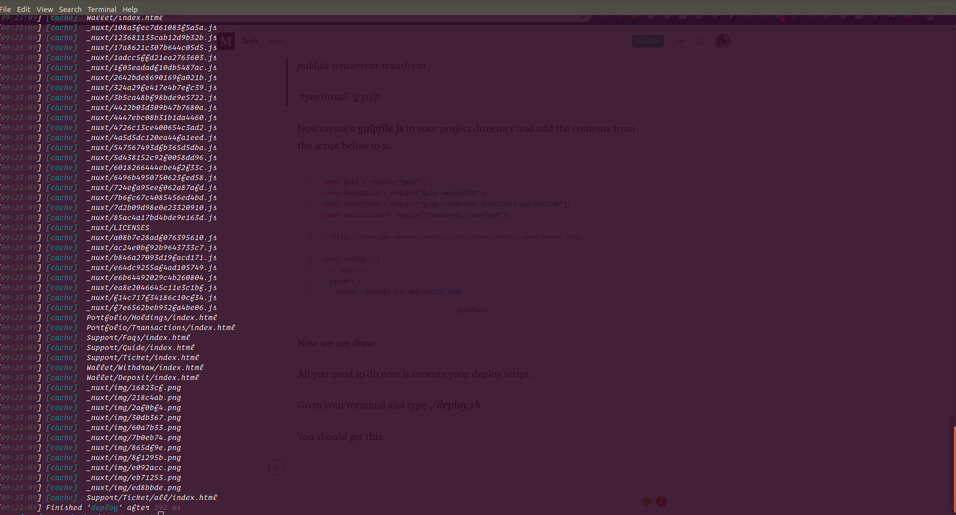 Terminal Output 2